How to Create Custom Decals: A Complete Design and Ordering Guide
Custom decals are one of the most versatile tools for branding and personalization. Unlike standard stickers, decals are often designed for larger surfaces, specialized environments or professional settings.
Creating a custom is surprisingly straightforward when you have the right tools. This guide covers how to move from a rough idea to a professional-grade product that makes your brand stand out.
1. Define the Purpose of Your Decal
The first step in creation is knowing where the decal will live. Decals are engineered for specific environments, so the intended use will dictate your material choice.
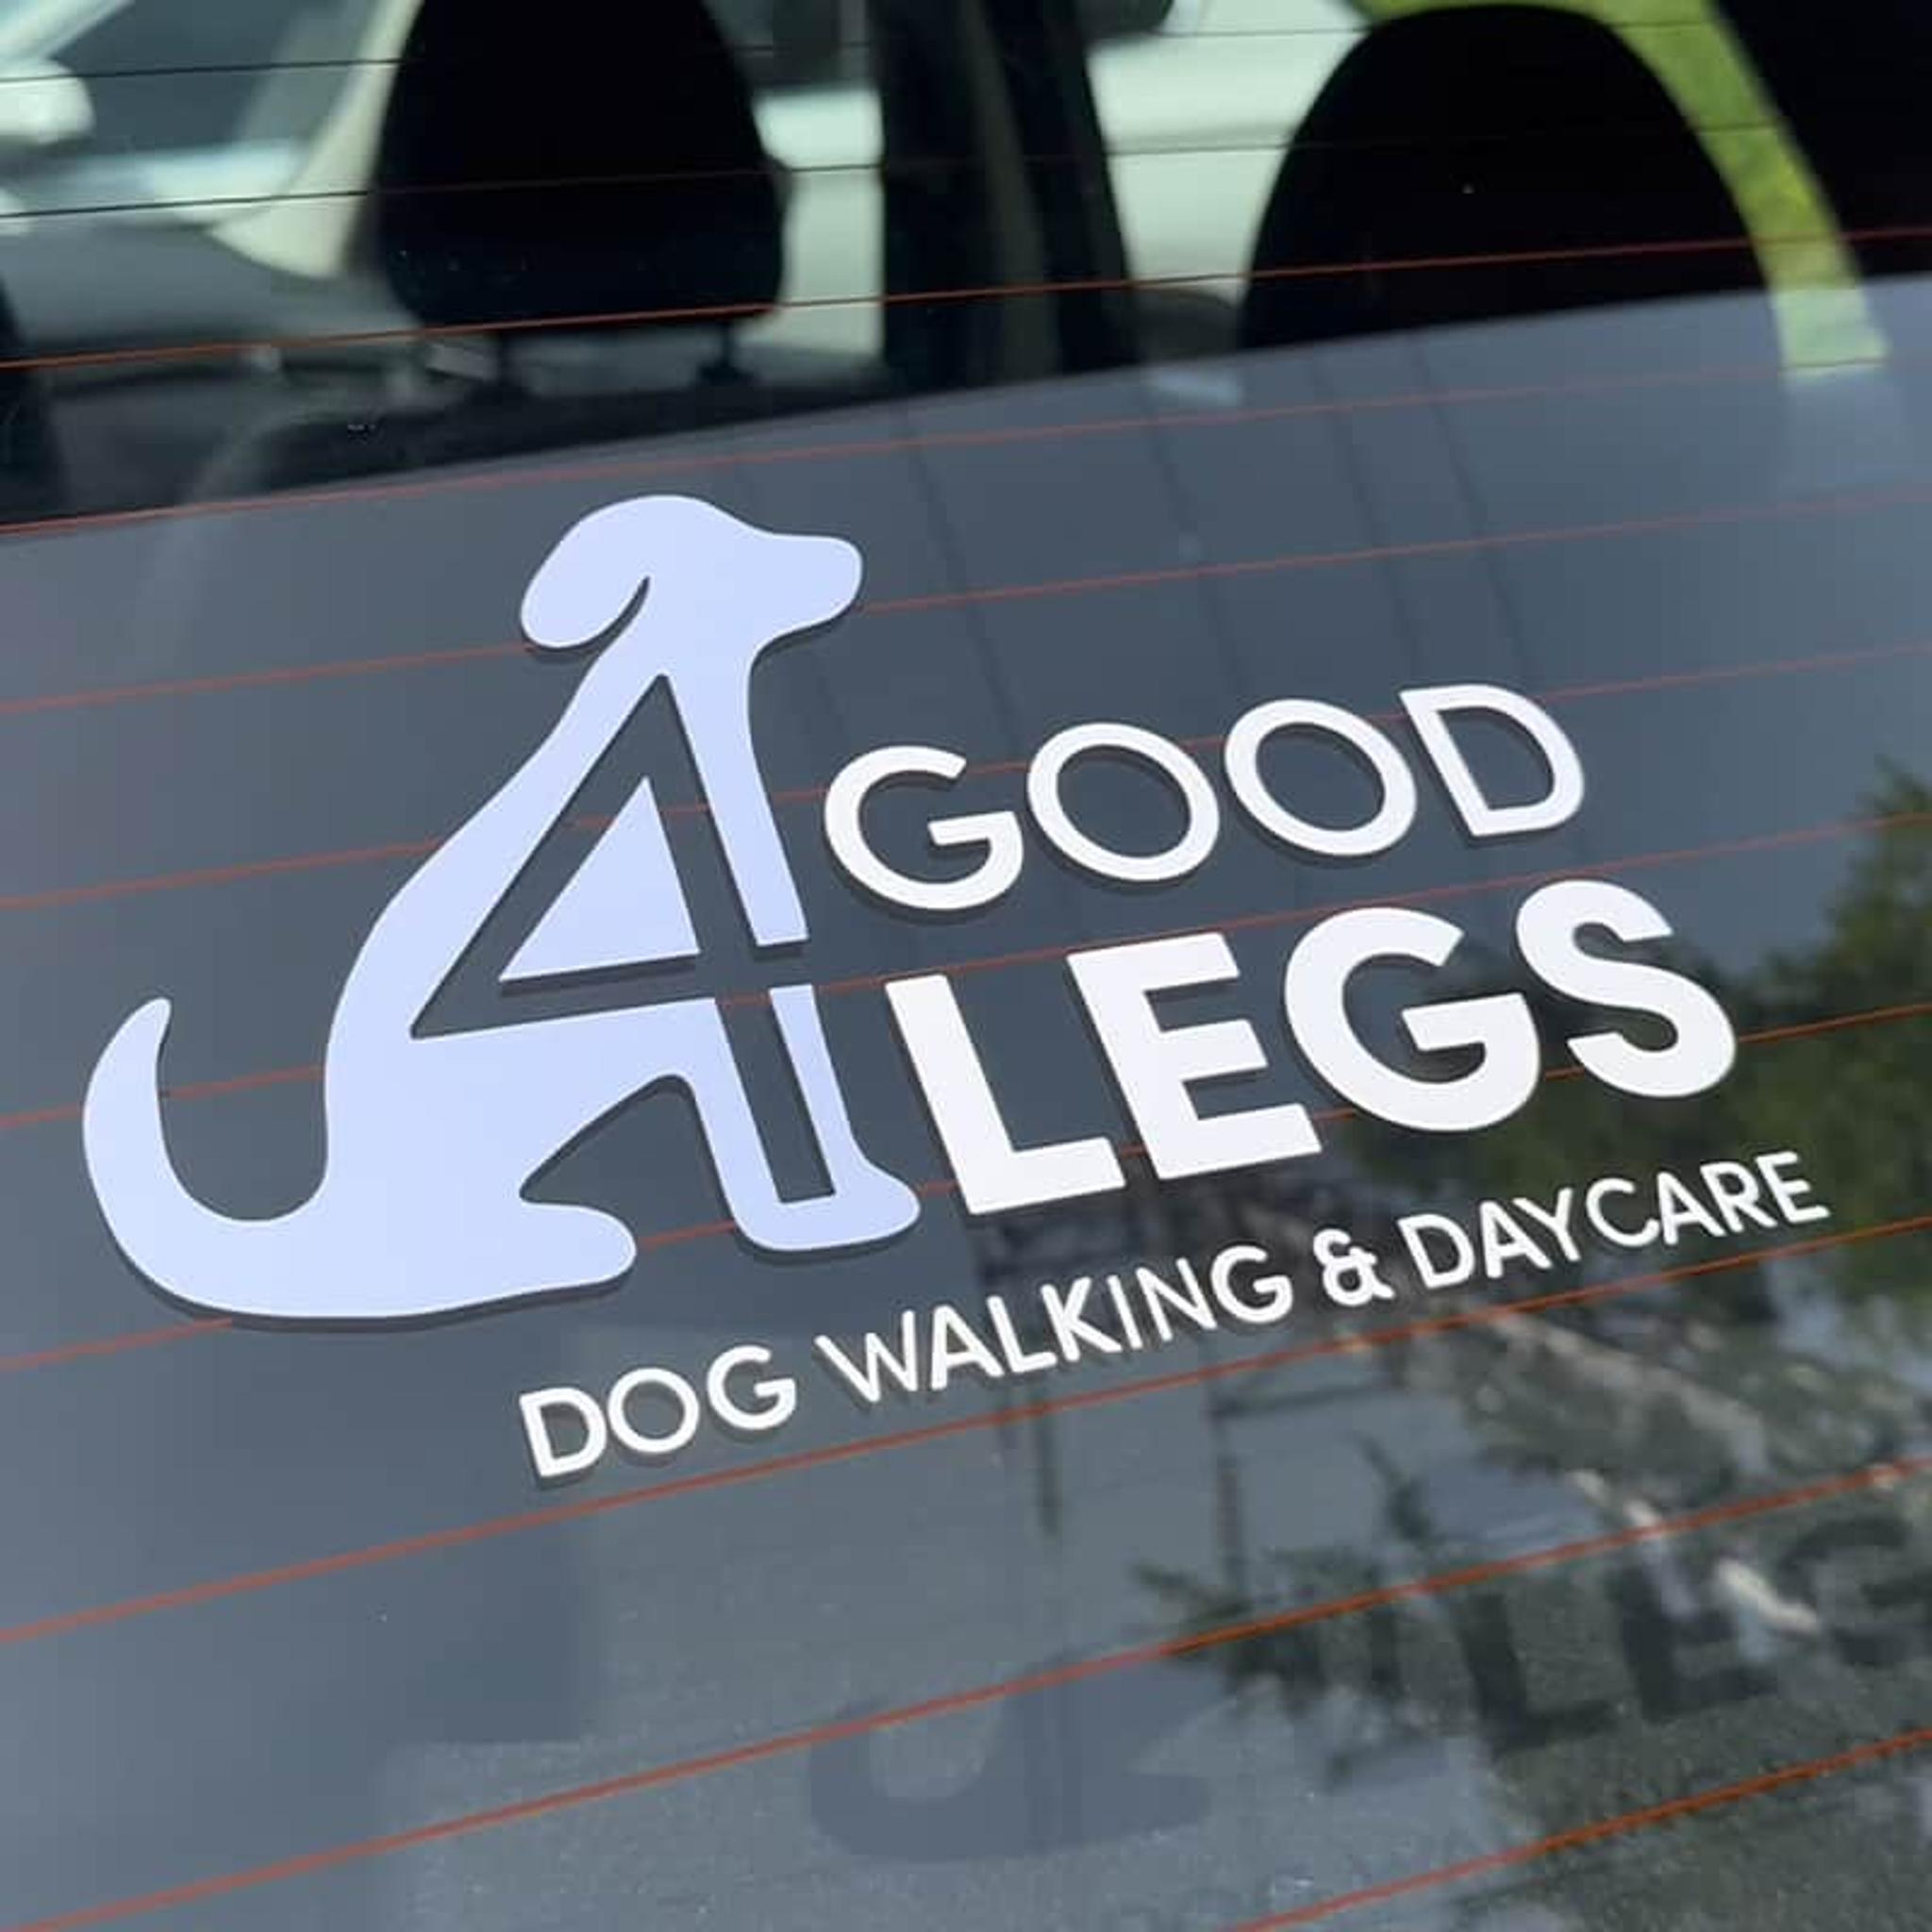
Outdoor branding: Your decal needs to be weather-resistant and UV-protected to prevent fading if it’s for a vehicle or an exterior window.
Indoor decor: For office walls or laptops, a removable vinyl is often better. This ensures you can do easy updates without surface damage.
Product packaging: For items like jars or bottles, a clear or permanent decal provides a no-label look that highlights the product inside.
2. Choosing the Right Material and Finish
We offer several options to ensure your decal matches your vision.
Vinyl decals: These are super durable. They’re perfect for car windows and equipment.
Clear decals: These allow the background to show through, making them ideal for glass surfaces and minimal designs.
Matte vs. gloss: A matte finish offers a modern, sophisticated feel that reduces glare, while a gloss finish makes colors appear more vibrant.
3. Designing for Impact
When creating your artwork, keep these technical tips in mind for a professional result:
Vector vs. Bitmap: For large decals, vector files are superior because they can be scaled to any size without losing clarity.
Contrast is key: If your decal is going on a window, remember that dark colors can get lost against shadows. Use white or bright colors for maximum visibility.
Cut lines: Think about the shape. While standard shapes work well, custom die-cut decals follow the exact outline of your logo for a seamless look.
4. How to Order Your Custom Decals
Ordering is built to be a simple, creative process. Here’s how to do it:
1. Upload your art. Use our online editor to upload your logo or design.
2. Select your specs. Choose your size, material, and quantity. There are no minimums, so you can order one for a personal project or thousands for a guerilla marketing campaign.
3. Review and proof. Double-check your dimensions and cut lines to ensure the final product matches your expectations.
Why Choose Custom Decals Over Other Options?
If you’re unsure if a decal is what you need, it helps to understand the Stickers vs. Labels vs. Decals hierarchy. Decals generally offer a more permanent and integrated look than a standard sticker, making them the go-to choice for professional environments.
Ready to start your design? Create your custom decals here.
Here's how easy it is to order our Custom Decals. Check it out:
Want more great ideas and inspiration? Follow us on social, or sign up for our newsletter for amazing deals delivered directly to your inbox.
StickerYou blog posts are written and published by members of the StickerYou team at our headquarters, located in the beautiful city of Toronto, Canada.