DIY Stickers: Make Your Own at Home

We love stickers of all shapes and styles, which is why we are going to give you some ways that you can make your own stickers at home. Homemade stickers are a fun activity that the whole family can get involved in, they are also a great way to give a personal touch to a crafty project. Here are popular methods for creating your own homemade stickers.
Why Make DIY Stickers?
Making your own stickers at home is a fun activity that allows you to unleash your creativity and create a design that’s truly unique. It’s enjoyable for both adults and kids alike, best done as an after-school activity or something to keep your family busy on the weekends.
Kids love stickers, and this DIY project will surely be a creative avenue for them to create a unique design they can use to personalize their school supplies.
Glue-Back Stickers
Items Needed
- 1 packet of gelatin
- 4 Tbsp of boiling water
- 1 Tsp sugar
- A few drops of vanilla (for flavor)
Instructions
For this process, you can use whichever materials you want in terms of design, just be sure your drawing utensil is not washable. Draw your design onto a piece of paper and then cut the image out with a pair of scissors.
Once you have your image cut out, you will need to make your glue. Mix your Gelatin, water, sugar, and vanilla together in a bowl. Store it in an airtight container in your refrigerator to allow the glue to gel overnight. When you need to liquify it for use, just submerge the container in hot water.
After you have thawed your glue, take a small paintbrush, lightly paint the back of your paper, and let it dry completely. After that, you can just lick the back of your sticker, as if it were a stamp, and adhere it to your surface of choice.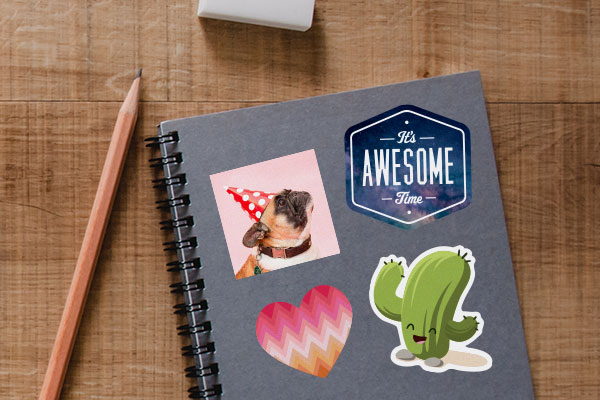
Packing Tape Stickers
Items Needed
- Image printed using water-resistant ink (think magazines, books, or flyers)
- Scissors
- Packing tape
- A coin
Instructions
For this method, you will need to cut out an image that has been printed using water-resistant ink. After you have cut out your image, you will then place a piece of packing tape over the image (note: the image should be limited to the size of the packing tape) and press down so that the tape adheres.
Next, rub the front of the sticker using a coin so the tape binds to the ink until the adhesive and ink have merged. After the ink and tape have become one, run it under warm water with the paper side facing the stream. The paper should fall apart and dissolve completely, but the ink will remain.
When the paper is all gone, let the sticker dry completely so that the tape adhesive becomes sticky again. Once it is dry, it is ready to be affixed to your surface. The result of this method would be very similar to Custom Packing Tape.
Use a Sticker Maker Machine
Items Needed
- Sticker machine (You can purchase this online or from a craft store at around $15 to $20)
- Design (This can be anything you want, whether a drawing on a piece of paper, a stock photo print-out, a magazine cut-out, or even some craft items like a ribbon or thread. Create your own unique design and make it as creative as you want it to be.)
Instructions
If you’re willing to spend a little bit more money on your DIY sticker project, you can use a sticker machine. You simply need to place your design into the machine and pull it through the other end. Some machines will have a crank system in place that will allow you to crank the sticker through.
Once the sticker comes out the other end, they’re ready for you to use on any desired surface. Just peel the adhesive off and stick!
Contact Paper Stickers
Items Needed
- Sheets of contact paper
- Sharpie pen (We recommend having a black pen for the outline of your design and a bunch of colored Sharpies to color your drawing)
- A pair of sharp scissors
Instructions
Give each member of your family a sheet of contact paper they can work with. Using Sharpie pens, draw your designs on the shiny surface of the contact paper. When you’re finished, cut the designs around the edges, leaving roughly an inch margin for a more professional look.
When you’re ready to use the sticker, peel off the backing paper and stick it onto your desired surface. Since contact paper is translucent, it’s best used on colored surfaces.
Printable Mailing Label Stickers
Items Needed
- Sheets of printable mailing labels (You can purchase these at office supply stores)
- Sharpie pen or marker (Get these in black and a bunch of different color options)
- A pair of sharp scissors
- Optional: Sheets of wax paper
Instructions
Draw a design onto printable mailing labels, whether pictures, shapes, or words. Decorate it with colored markers. When you’re done, cut around the design.
You can simply peel the backing paper off the label and stick your design onto any surface. But if you don’t want to use the sticker yet, you can stick it onto wax paper and install it later.
Conclusion
Of course, if you just want to design and order custom stickers and don’t have the time or resources to make it yourself, we can make it for you. Simply select the type of sticker you want (Roll Labels, Die-Cut Single, etc.), upload your design into our Sticker Editor, and then finalize your order. At StickerYou we can help make your ideas stick; in any shape, any size, and any quantity.